7 Easter Holiday Decorating Styles to Brighten Your Home This Spring
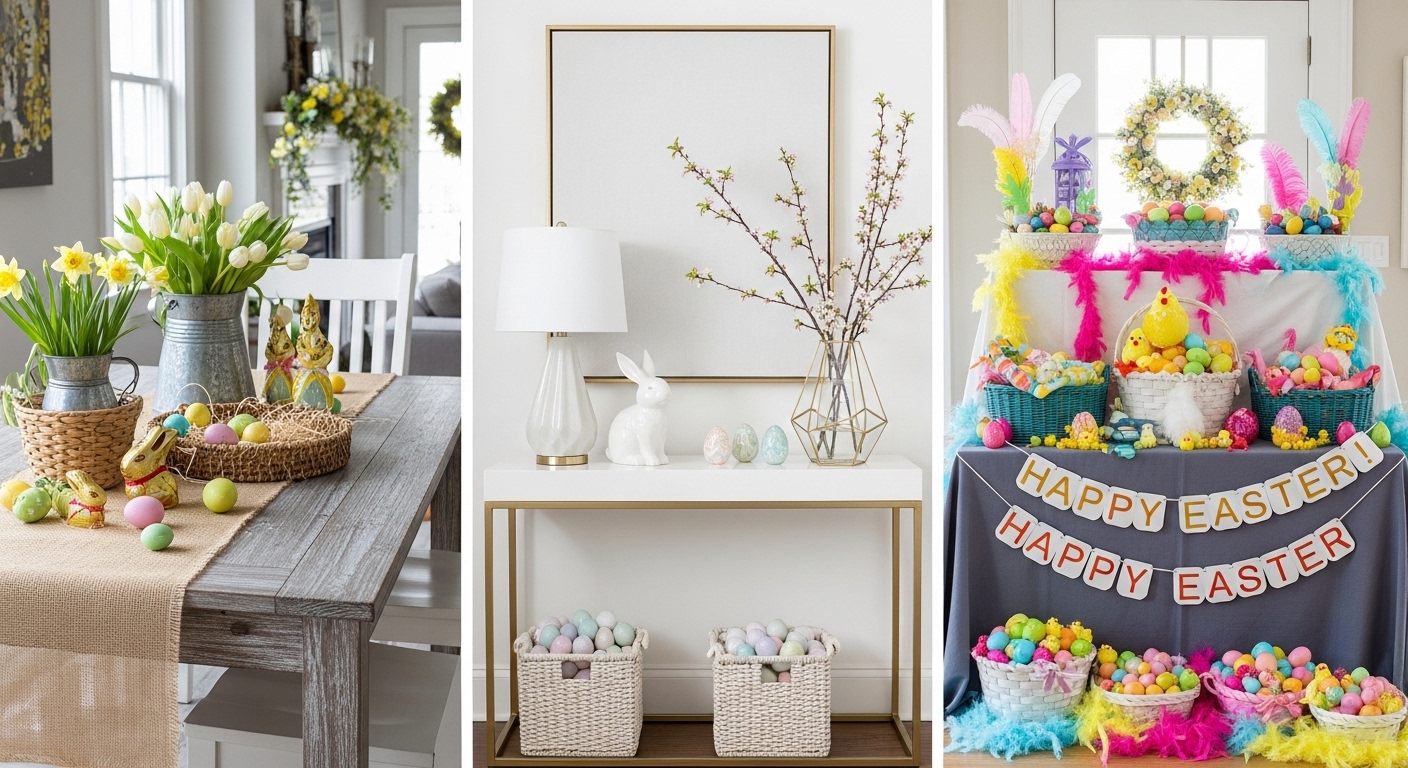
Introduction Easter is more than just a holiday—it’s a celebration of renewal, warmth, and fresh beginnings. As winter fades away, Easter arrives with soft pastels, blooming flowers, and cheerful gatherings that invite us to refresh our homes. Decorating for Easter doesn’t have to be complicated or expensive. With the right style and a few thoughtful … Read more